How to Deploy a React TypeScript Project to GitHub Pages using GitHub Actions
How to Deploy a React TypeScript Project to GitHub Pages using GitHub Actions
Introduction
Deploying a React TypeScript project to GitHub Pages efficiently automates the process, ensuring your project is consistent with the latest changes in your repository. This tutorial will guide you through setting up GitHub Actions to automate the deployment of your React TypeScript project to GitHub Pages.
Prerequisites
- GitHub Account: A GitHub account and a repository containing your React TypeScript project.
- Node.js and npm: Ensure Node.js and npm are installed to handle project dependencies.
Step-by-Step Guide
Step 1: Prepare Your React Project
Make sure your React project uses TypeScript and is configured to build correctly. In your package.json, set the homepage field to the hosting subpath:
"homepage": "./",
Step 2: Set Up GitHub Actions
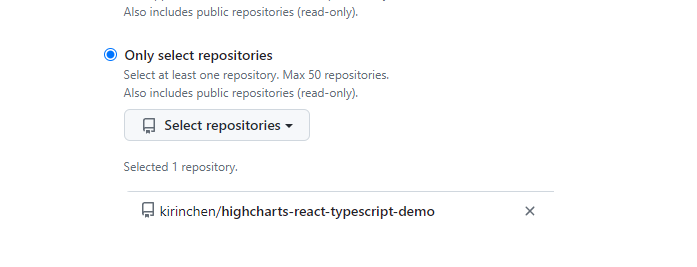
- Generate a Commit Token:
- Go to
Settings>Developer Settings>Personal access tokens. - Select
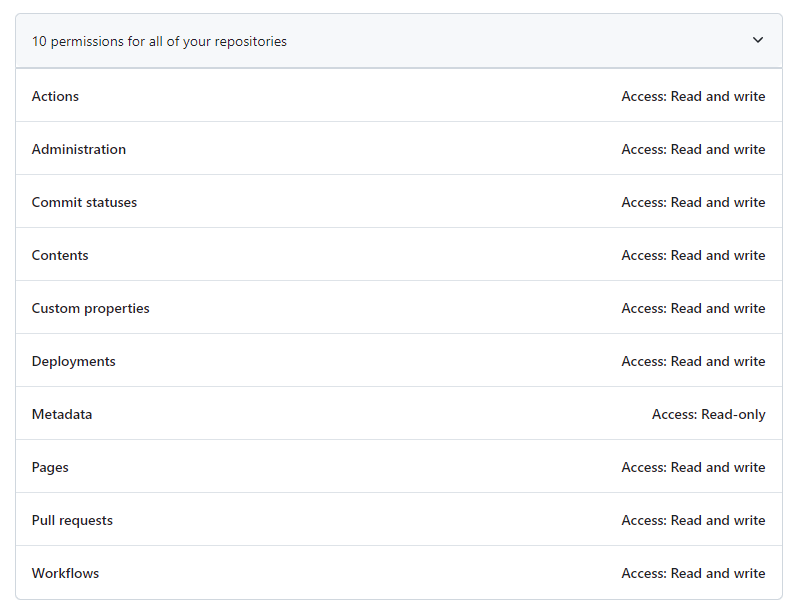
Generate new token. - Choose the appropriate permissions for the token, such as repo access.
- Note down the generated token.
- Go to
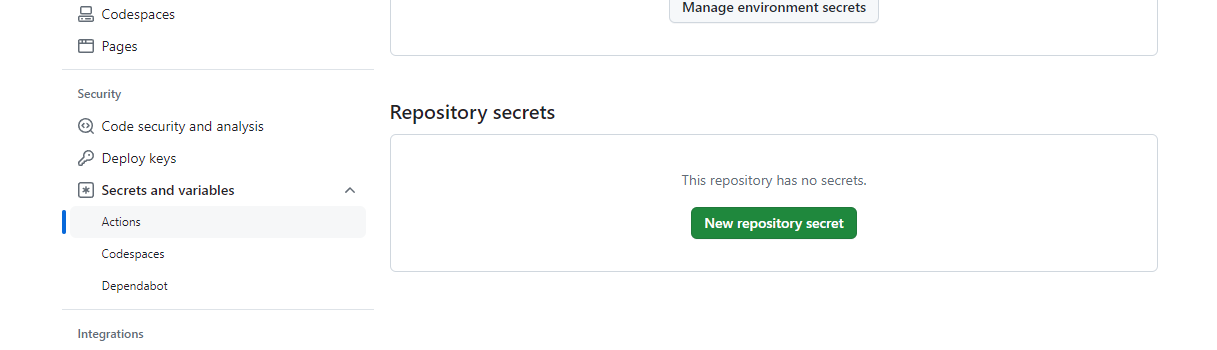
- Add the Commit Token as a Secret:
- Navigate to your repository’s settings.
- Go to
Secrets and variables>Repository secrets>New repository secret. - Name:
COMMIT_TOKEN - Secret: Paste the generated token.
3. Create a Workflow File:
- In your repository on GitHub, go to the
Actionstab and click on “New workflow”. - Click on “set up a workflow yourself” to create a new YAML file in
.github/workflows.
Configure the Workflow:
- Replace the content of the YAML file with the following:
name: deploy gh-pages

on:
  push:
    branches:
      - main

jobs:
  build:
    name: Build and deploy gh-pages
    env:
      MY_SECRET: ${{ secrets.COMMIT_TOKEN }}
      USER_NAME: githubaction
      USER_EMAIL: githubaction@github.com
      PUBLISH_DIR: ./build

    runs-on: ubuntu-latest

    strategy:
      matrix:
        node-version: [18.x]

    steps:
    - uses: actions/checkout@v1

    - name: Use Node.js ${{ matrix.node-version }}
      uses: actions/setup-node@v1
      with:
        node-version: ${{ matrix.node-version }}

    - name: npm install
      run: npm install

    - name: npm run build
      run: npm run build

    - name: Commit files
      run: |
        cd $PUBLISH_DIR
        git init
        git config --local user.name $USER_NAME
        git config --local user.email $USER_EMAIL
        git status
        git remote add origin https://$MY_SECRET@github.com/$GITHUB_REPOSITORY.git
        git checkout -b gh-pages
        git add --all
        git commit -m "deploy to Github pages"
        git push origin gh-pages -f
        echo 🤘 deploy gh-pages complete to $GITHUB_REPOSITORY.git.
This workflow will trigger on pushes to the main branch, install dependencies, build your project, commit the build artifacts to the gh-pages branch, and then push to GitHub Pages using the provided commit token for authentication.
Step 3: Enable GitHub Pages
- Access your repository’s settings.
- Locate the “Pages” section.
- Select the
gh-pagesbranch and/ (root)folder as your source. - Confirm your settings.
Conclusion
Following these steps will set up your React TypeScript project for automatic deployment to GitHub Pages upon any commits to your main branch. This configuration streamlines your update process and ensures a smooth and efficient deployment pipeline.
Every time you commit, it will trigger the action as shown:
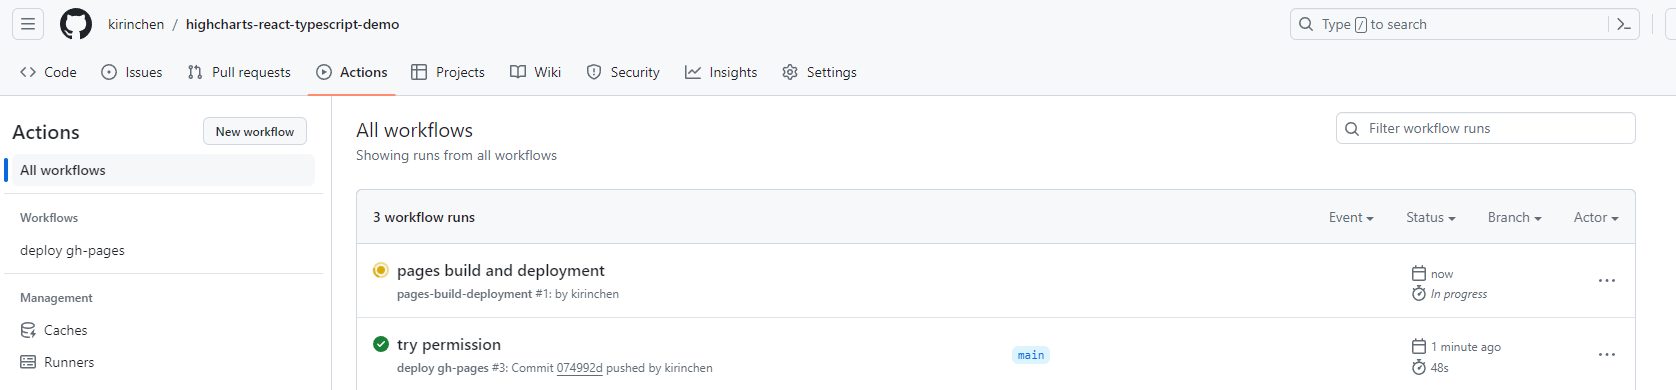
Remember to replace the username and repo-name with your actual GitHub username and repository name in the package.json and adjust the workflow YAML as needed.


留言
張貼留言